
Tutorial Github: trebuie să știți aceste elemente de bază
În acest tutorial vă vom prezenta la Github. Github este o platformă în care puteți gestiona, stoca și urmări proiecte și utilizatori Git.
Tutorial Github: ce este git?
Înainte de a înțelege ce este Github, trebuie mai întâi să înțelegeți conceptul de Git:
- Git este un software de gestionare a versiunilor pentru proiecte. Îl poți folosi pentru a sări pur și simplu înapoi la tarabele vechi sau pentru a lucra la un proiect cu mai multe persoane.
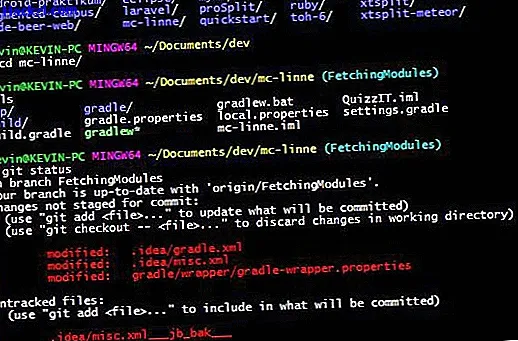
- Puteți utiliza fie Git în linia de comandă a sistemului dvs. de operare, fie în Github Desktop, un client Git cu o interfață grafică de utilizator. Trebuie să știți următoarele comenzi atunci când utilizați Git:
- git clone [URL]: Clonați un depozit Git de la URL la computerul dvs. local.
- git init: Inițializează local un proiect Git. Opțional, puteți încărca acest lucru mai târziu pe Github sau pe o altă gazdă.
- git add: Adăugați fișiere în lista de vizionări. Acest pas este obligatoriu pentru a vă încărca lucrările în depozit.
- git commit: comit modificările. Acesta este un stand la care vă puteți întoarce în orice moment. Comandați fișierele înainte să poată fi trimise într-un depozit la distanță.
- git push: cu o apăsare, trimiteți toate angajamentele către depozitul de la distanță de pe serverele Github sau ale altui furnizor selectat.
Tutorial: ce este github?
Github este gazda proiectelor dvs. Git și are proprietăți similare unei rețele de socializare.
- Cu Git puteți accesa proiectele salvate în Github de oriunde.
- Depozitele stocate în Github sunt întotdeauna publice. Astfel, alți utilizatori vă pot vizualiza proiectele. Depozitele private sunt disponibile numai contra cost.
- Puteți contribui, de asemenea, la programele existente prin remedierea erorilor și participarea activă la instrumente open source.
- Github este utilizat mai ales pentru proiecte extinse în anumite limbaje de programare. Cu toate acestea, este posibilă și gestionarea documentelor simple în Github.
Tutorial: Configurarea Git și Github
Înainte de a putea începe cu Git și Github, aveți nevoie de un cont Github și trebuie să instalați Git local. Iată cum:
- Creează mai întâi un cont pe Github. Acest lucru este destul de simplu și poate fi făcut rapid și ușor.
- Pentru a utiliza Github productiv, acum aveți nevoie de Git pe computerul local.
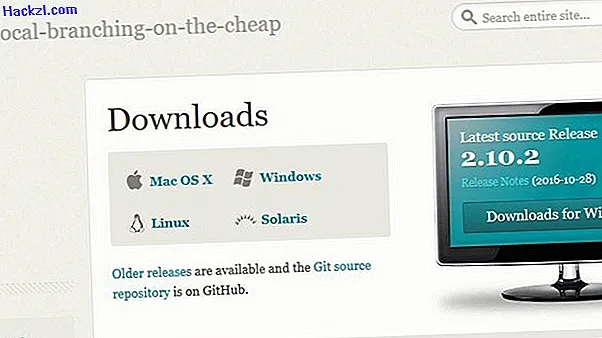
- Acum instalați Git. Alegeți programul de instalare de care aveți nevoie pentru sistemul dvs. de operare.
- Porniți Git Bash pe care tocmai l-ați instalat pe Windows. Porniți terminalul normal pe macOS și Linux.
- Cu 'git config --global user.name "[Name]"' acum trebuie să vă definiți numele.
- Ca și până acum, utilizați „git config --global user.email„ [Mail] ”'pentru a stabili adresa de e-mail. Folosiți același mail aici pe care l-ați specificat în Github.
Tutorial Github: Configurați un depozit
Dacă doriți să începeți cu un proiect, puteți crea un depozit în două moduri:
- În Github, faceți clic pe cartea mică de lângă numele dvs. de utilizator pentru a crea un nou depozit.
- Dați un nume proiectului dvs. aici. După cum s-a descris mai sus, trebuie să faceți public proiectul sau să plătiți o taxă lunară.
- Apoi faceți clic pe butonul verde „Creați depozit”. Puteți adăuga apoi depozitul local folosind git clone așa cum este descris mai sus.
- Creați un depozit local cu git init. Puteți apoi să conectați un repo local și un online cu „git remote add origin //github.com/[Username[/[Projektname[.git ').
- Acum aveți un depozit online pe Github, astfel încât să vă puteți gestiona proiectele și să le folosiți de oriunde.

Puteți citi despre cum să utilizați marcarea pentru readme în Github în următorul sfat practic.