
Gimp: păr vopsit - cum funcționează
GIMP este un editor de imagini foarte extensiv pe care îl puteți folosi pentru a vopsi părul. Acest sfat practic oferă instrucțiunile.
GIMP: păr vopsit
Cu programul gratuit „GIMP” puteți chiar să schimbați culoarea părului cu instrumentele adecvate. Iată cum funcționează:
- Importați imaginea: În GIMP faceți clic pe „Fișier” -> „Deschide ...” și selectați fotografia.
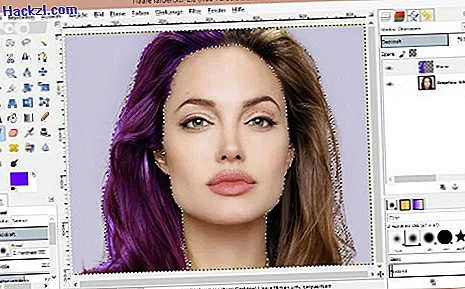
- Marcarea părului: Există mai multe moduri de a selecta părul. Puteți utiliza sau bagheta magică sau puteți crea o cale. Bagheta magică se găsește în bara de instrumente din stânga. Programul recunoaște automat secțiuni de culori similare din zonă. Alternativ, puteți crea, de asemenea, o cale în jurul părului. Pentru a face acest lucru, faceți clic pe „Căi” din bara de instrumente și setați punctele de ancorare în jurul părului. În final, faceți clic pe „Selecție din calea” din stânga.
- Strat nou: Acum creează un nou strat în bara de meniu sub „Strat” -> „Strat nou ...”. Dați nivelului un nume. „Tip de umplere de nivel” trebuie setat pe „transparență”. Pentru a face culoarea vizibilă în imagine, trebuie să suprapuneți acest strat. Pentru a face acest lucru, selectați modul „Suprapunere” în fereastra stratului din dreapta.
- Culoare: Acum culoarea intră în joc. Alegeți o culoare adecvată în prim plan și pictați părul cu peria. De asemenea, puteți vopsi întregul păr simultan cu ajutorul instrumentului „Umplere”. Dacă culoarea este prea puternică pentru dvs., reduceți opacitatea stratului din dreapta.
Citiți, de asemenea, cum să decupați obiecte în GIMP.